

Managing Your Data
Managing Your Technicians
You can manage your technicians using Data/Technicians module on Buck.ai. Please remember that, only technicians who are Managed by Buck.ai can be assigned jobs on the platform.
Technicians Overview
Technicians list is where you can bulk edit your technicians or filter them based on certain properties.
Filtering for Technicians
To filter technicians, click on Filter button on the top right of the technicians view. 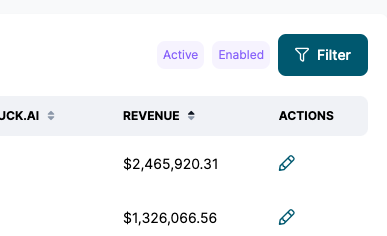
You can filter the technicians with various criteria: by which Business Units they are involved with, if they're Active on your FSM software or by if they're enabled on Buck.ai. Once you're done, click "Apply" to apply your filters to the technicians view. 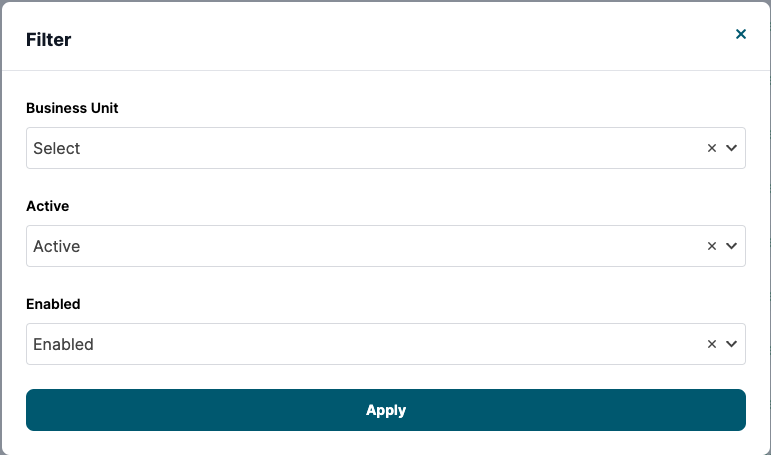
Searching Your Technician Data
You can search the technicians by their first or last name. You have to type at least 4 letters to start a search. 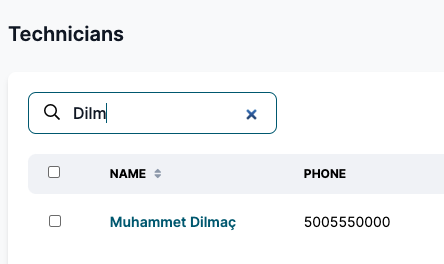
Bulk Editing Technicians
You can click on the checkboxes next to any technician to start a bulk edit. Once you select multiple techs, "Bulk Edit" button appears on the top-right to allow you to assign the selected technicians to business units, or add them to multiple job types, as well as enabling/disabling them. 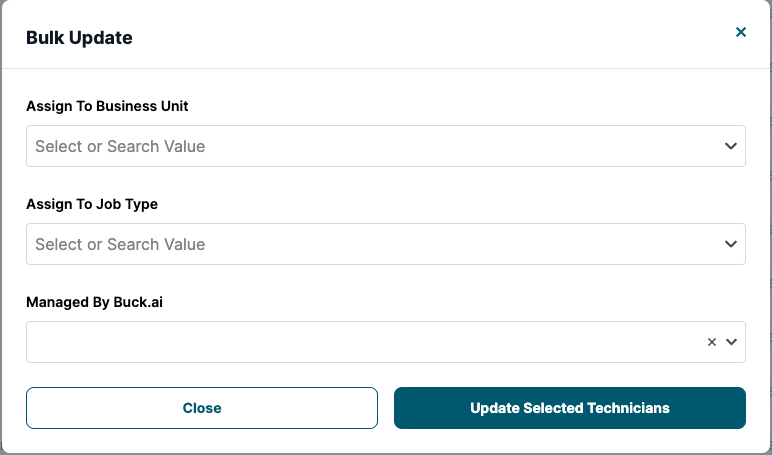
Technician Page
Once you click on any technician's name, or the "Pencil" icon in technician's line, you'll be redirected to the Technician page.
Updating Technician Card
If you have a working FSM software integration, Buck.ai wouldn't allow you to update the personal details of the technician. That information is fetched automatically every 4 hours from your FSM software. However, you can add the technician to multiple business units by using the business units selector. 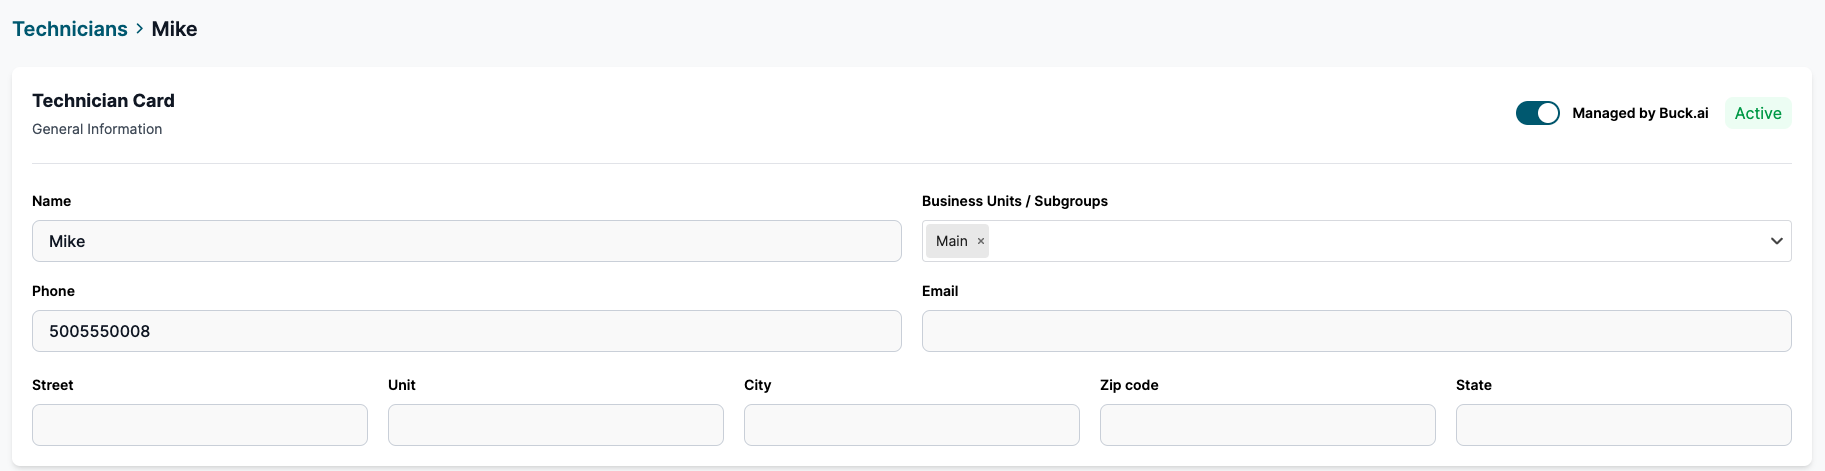
Technician Shifts
You can manage your technician's shifts on Buck.ai. To turn this feature on, go to Admin Console/Integration and turn off "technician shifts" the FSM integration of your choice. This way, Buck.ai will be looking into the technician shshifts that you set up on technician pages.
Adding a Shift
To add a shift to a technician, go to technician's page and click on the shifts tab. There you can set up the dates and individual shifts for the technician.
Updating a Shift
To update a shift, click on the shift using calendar view and update the shift details. You can select to update a single shift or all recurring shifts that are part of the same shift.
Removing a Shift
To remove a shift, select the shift and turn on "Destroy" toggle on the top right. Click "Save Changes".
Technician Unavailabilities
You can manage technician Unavailabilities, a.k.a. non-job appointments, on Buck.ai. This features is turned on by default, but if you want to use your FSM's Unavailabilities, you can turn that feature on in Admin Console/Integrations/Your FSM integration.
Adding a Unavailability
To add an Unavailability, click on "New Unavailability" button and set the relevant details. You can create recurring unavailabilities for weekdays, weekends, or several days of the week. Once you're done, click "Save Changes".
Updating a Unavailability
To update an Unavailability, click on any instance of that Unavailability from the calendar view and update the necessary details. You can update all occurrences of the unavailability or just a single one.
Removing a Unavailability
To remove an unavailability, click on the unavailability and turn on "Destroy" toggle. Click "Save Changes".
Understanding Shift Data Sync
The shifts and unavailabilities you're creating on Buck.ai are simultaneously synced with your FSM software. Same way, the shifts and unavailabilities you're creating on your FSM software is synced with Buck.ai every 4 hours.